Modern hatches are usually waterproof when new but eventually the rubber parts and sealant can perish, leading to ever-increasing leakage.
The gasket on the lid is often the first to go. For most, it is best to buy a replacement gasket to suit the hatch model. You need to know the brand, model, size and age of the hatch, because the parts can be different for similar hatches from the same company.

Less commonly, the sealant between the hatch frame and deck will fail. In this case, you may need to remove the hatch entirely and rebed it, after removing all the original sealant.Sometimes a bead of sealant around the hatch frame will cure the problem. There are many choices for this but I prefer to use simple neutral-cure, non-acid, silicone.
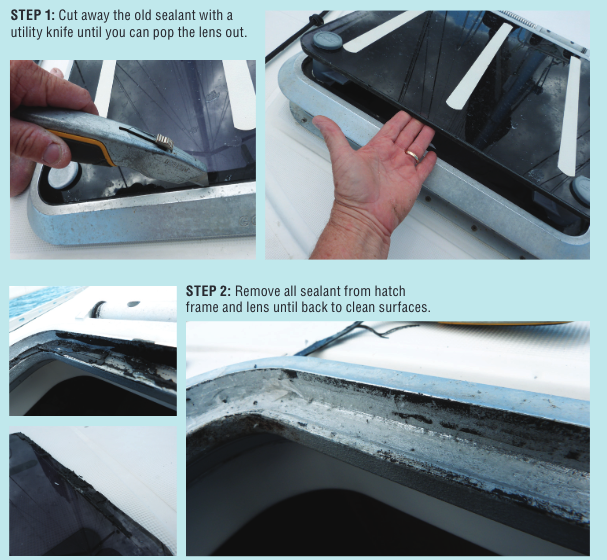
It is easy to apply and work smooth with a wet finger, as well as easy to clean up. If the seal between the hatch lens and frame fails, you will need to remove the lens and all the sealant. Both parts should be completely clean before resealing.

Choose a flexible sealant that will expand and contract without letting go. For a long time Sikaflex was the favoured choice. These days I prefer Fixtech Fix 200, a specialised flexible sealer for acrylic and polycarbonate windows. It is relatively easy to apply and clean up and does not require a primer. Most chandlers stock it.
When the hatch is ready to reassemble, apply masking tape on both sides of the join, both inside and out. Carefully apply just enough sealant that it squeezes out when the lens is fitted. Be sure to position the lens centrally in the frame. If sealant does not squeeze out you will need to add some more, ensuring there are no gaps. Too much and you will have a mess to clean up, as well as wasting the sealant. Allow the sealant to set, then carefully trim with a utility knife before removing the masking tape.
By Petrea McCarthy (Cruising Helmsman 2017)


